I got an exciting Christmas present for my dad. Pretty sure he doesn’t read my blog so I’ll tell you about it here (shhhh)
There’s a bunch of different sites for ordering custom jigsaw puzzles. Obviously the normal thing is to use one of your own photos, but how about a jigsaw map? ….open licensed of course. A map could be a cool image to use on a jigsaw puzzle, because its a nice intricate image, with evenly spread complexity (compared to some photos at least) and it becomes a puzzle of geographical knowledge rather than just colour matching.
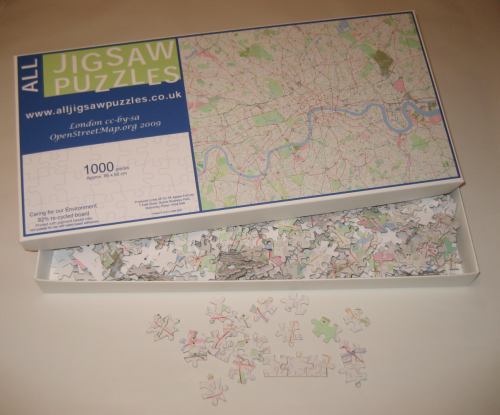
I decided to order one from AllJigsawPuzzles.co.uk which does 1000 piece jigsaws! This is 66 x 50 cm (26 x 20 ins) and costs £29.99 (+ £2.79 delivery) I sent them an OpenStreetMap image which was 7168 x 5448 pixels, here’s what I received a few days later:
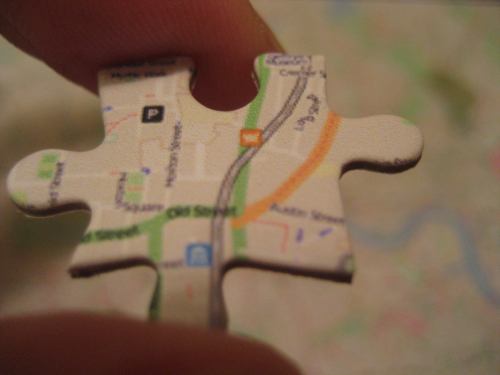
Even then it doesn’t actually tell you what pixel dimensions to go for, but you can work it out. The information is: “If possible save the picture at around 300 dpi (dots per inch), that is the resolution we work at. If you crop your picture before sending it, then try to have the picture size in the ratio of 25:19;”. The printed image is 26 x 20 inches, so it’s recommending 7800 x 6000 pixels. Now I sent a slightly lower res image at 7168 x 5448 pixels. To be honest I’d already faffed around a lot with the image at this size, before reading the instructions on this page, and I couldn’t be bothered to re-do everything. But also I figured they were probably erring on the high side at 300dpi, and I knew the text size was going to be an issue. If I’d sent a larger image (covering a large area of map) then the text would have printed even smaller.
Of course what I should have done, is generated the map image myself, using a custom Mapnik stylesheet with larger text for printing. I notice Holger Schöner has some nice examples of this: ‘Mapnik maps for other resolutions’ on his demo page. But I was too lazy, so I used the BigMap perl code which creates a big image by tile stitching. I did actually use a custom CloudMade style with no buildings and no residential grey patches showing. This was because the coverage of these things is irritatingly incomplete at the moment (I organised a special mapping party to tackle this back in September, but there’s still a lot of work to do on that) and it would have annoyed me to have these problems showing on a jigsaw.
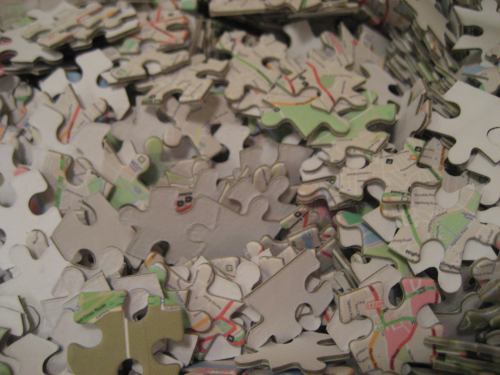
I may regret this though because it means fewer recognisable details for the purposes of puzzle solving. In fact it remains to be seen how do-able this 1000 piece puzzle will be. I was thinking afterwards perhaps I should have gone for a 520 piece one, or maybe I should have added a slight graduated fill to the whole background (make it easier to roughly place pieces). Or maybe that would be too easy. We’ll have to wait and see how my dad gets on. I’ll get back to you on that after Christmas! ( UPDATE: Doing the OpenStreetMap jigsaw )